If your staircase looks a little past its best, sanding it back is often the most effective way to refresh it. Whether you're repainting, staining or laying new carpet, sanding is the essential prep step. Done properly, it helps finishes stick better, last longer and look sharper.
But sanding a staircase isn't just about grabbing sandpaper and going for it. It’s a task that needs the right abrasive tools and a good bit of care, especially with edges, corners and older timber. Here's everything you need to get the job done properly, whether you're a seasoned DIYer or it’s your first big home project.
The Tools You’ll Need for Stair Sanding
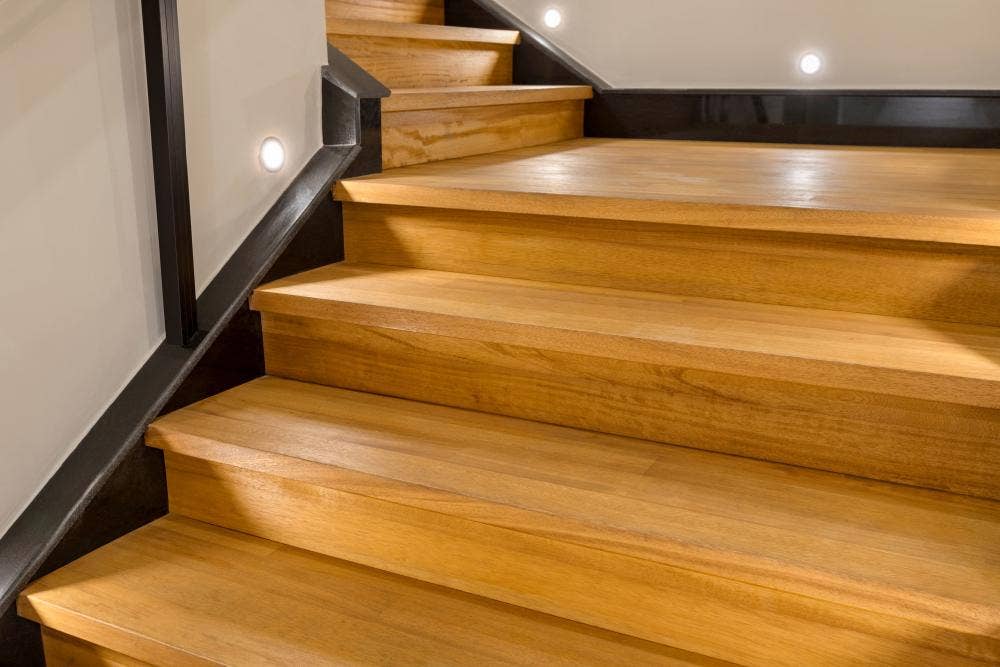
Each staircase is different, but this toolkit will cover most scenarios:
1) Sanding Tools
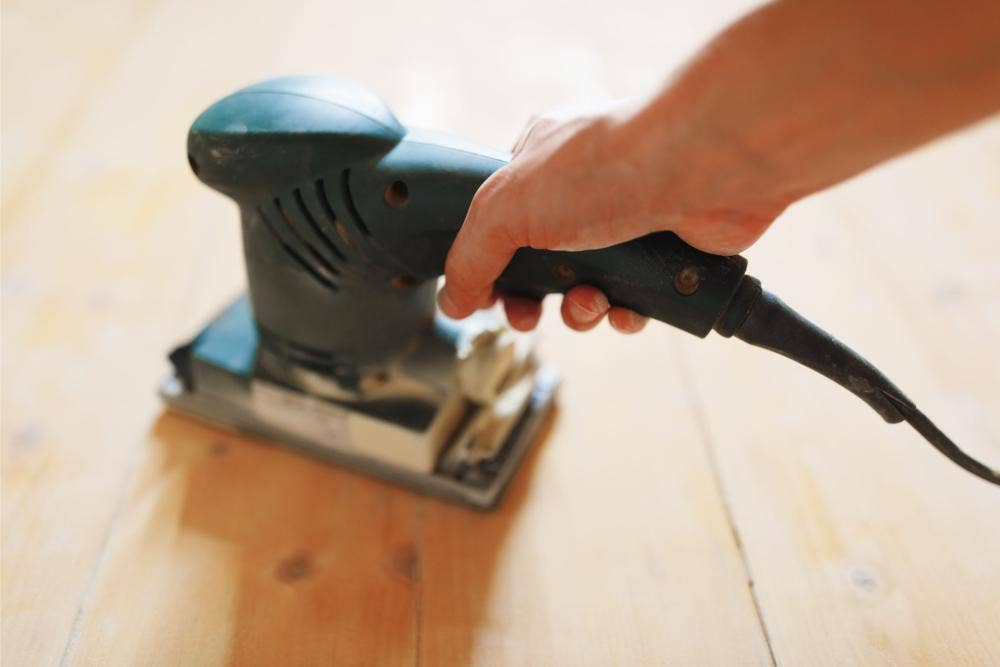
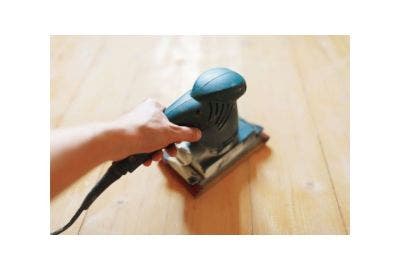
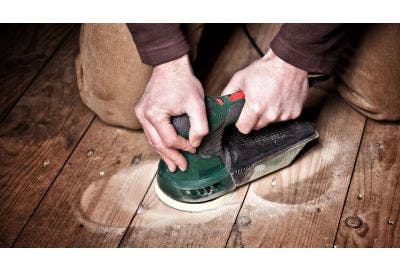
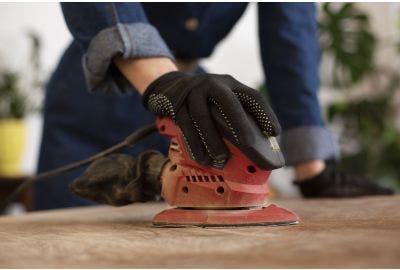
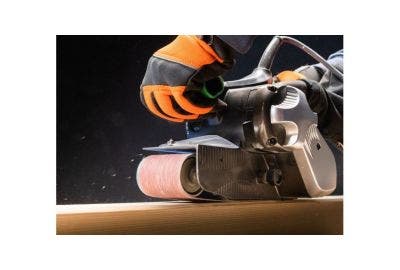
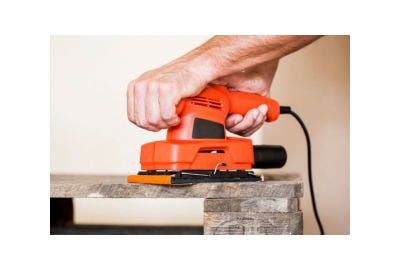
Powered sanding tools will save hours compared to doing it all by hand. You might use:
- An electric floor sander for main treads
- Corner or detail sanders for edges and tight spots
- Sanding pads or blocks for final smoothing
Using the wrong grit can lead to visible scratches or missed patches (read our guide on sandpaper grits), so label your sanding pads and keep them separate. A simple tip: mark the backs of your sheets with a number so you know exactly which grit you're on.
2) Utility & Putty Knives
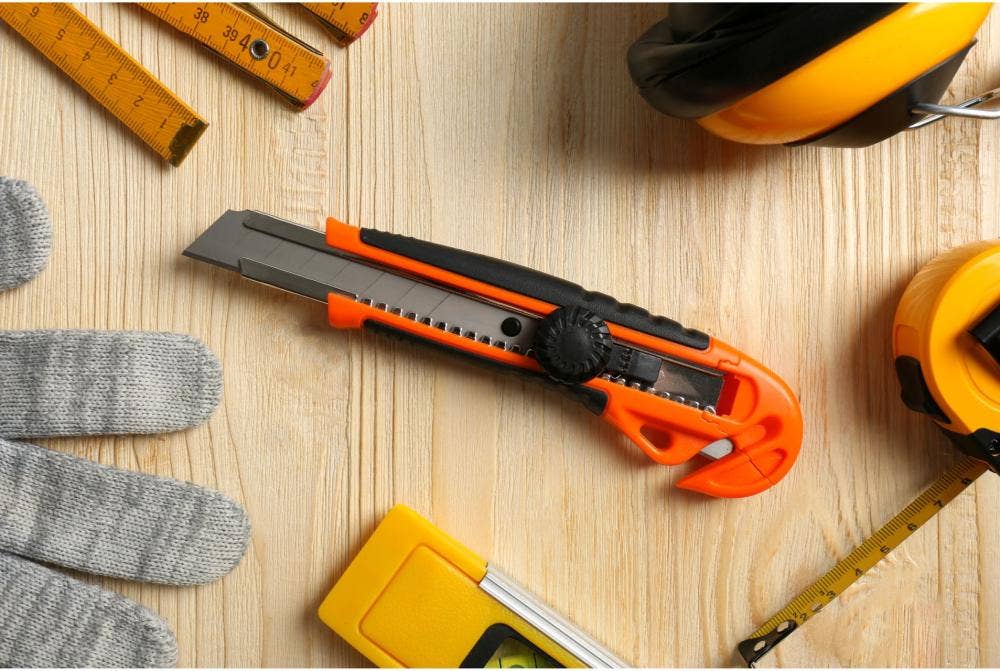
A sharp utility knife (like the Bahco Utility Knife) helps remove old carpet, underlay, or flaky paint. A putty knife is perfect for scraping off adhesive or spreading wood filler when patching up dents. For best results, choose one with a flexible blade because it allows more control around detailed edges and railings.
3) Wonder Bar
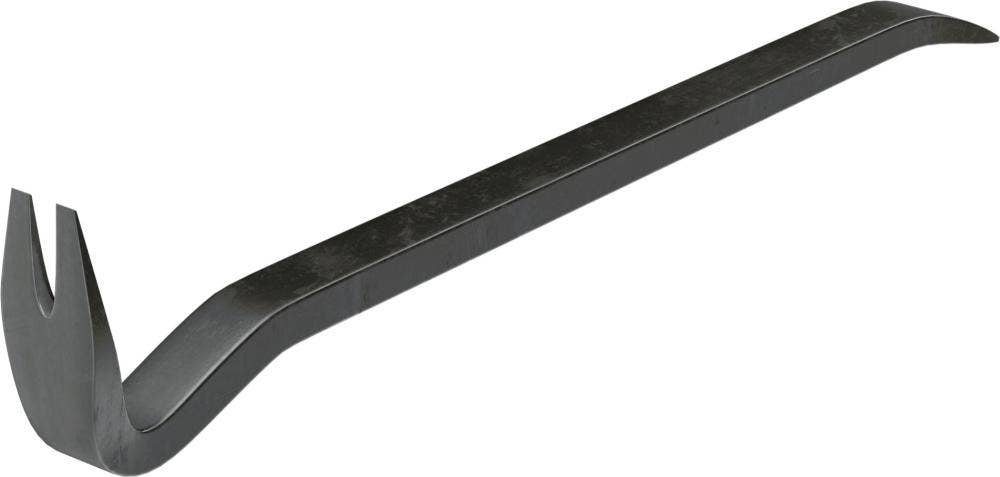
Also called a utility bar, this helps lever up carpet tack strips or stubborn nails. It’s flat and strong, giving you leverage without damaging the stairs. For added grip, go for one with a slight curve to the blade, it’ll add a little more torque and makes tight spots easier.
4) Pliers
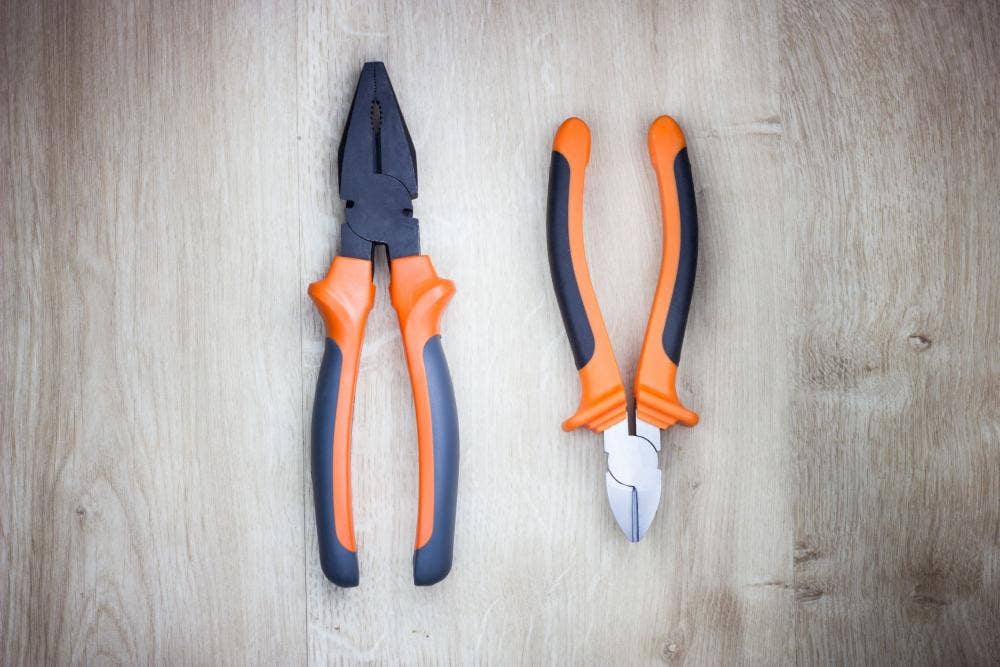
Nail heads, staples, or bits of wire? A solid pair of pliers gives you better grip than fingers alone and avoids splintering the wood. Needle-nose types are especially good for fiddly work in narrow gaps.
5) Scraper
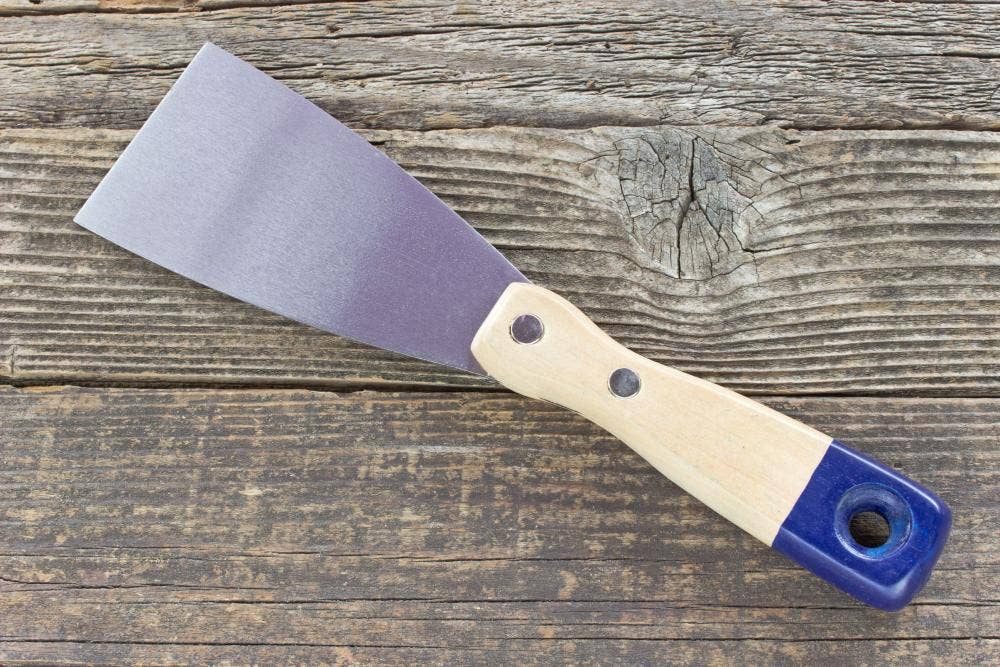
Old varnish and paint don’t always come off with sanding alone. A scraper with a wooden or soft-grip handle helps you get back to bare wood before sanding starts. Choose one with replaceable blades to save time when one wears down.
6) Wood filler
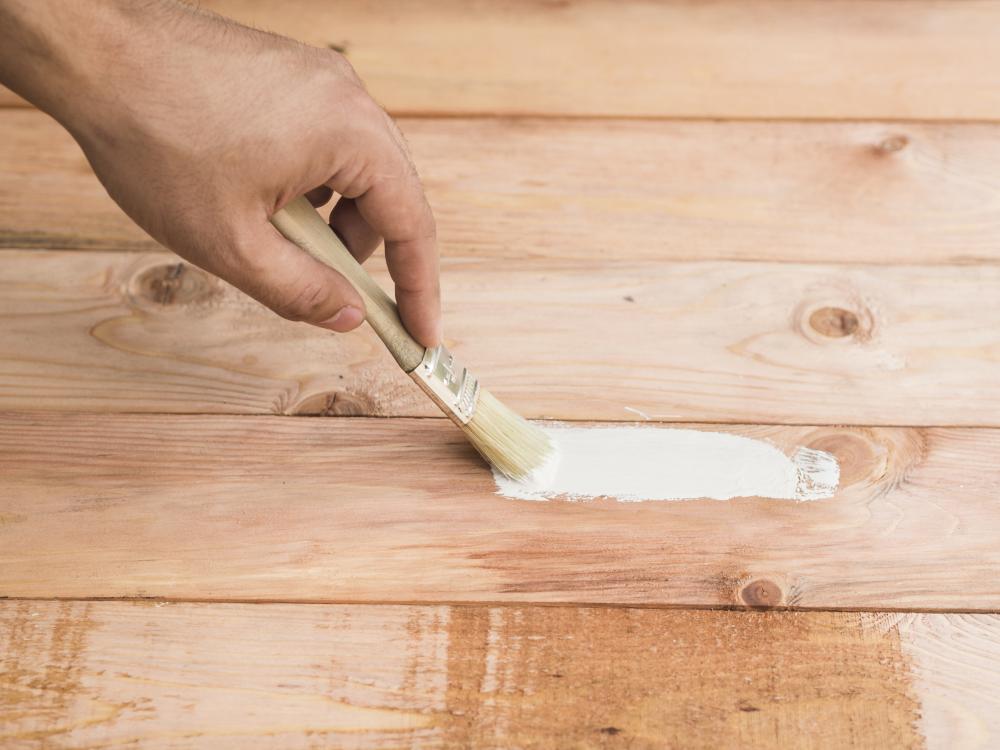
Cracks and gouges show more once you've sanded. Use a filler that matches your stair colour or is stainable. Apply with a putty knife, let it dry and then sand smooth.
Pro tip: use a filler that dries slightly darker than the wood—it’s easier to mask than one that dries lighter.
7) Masking tape
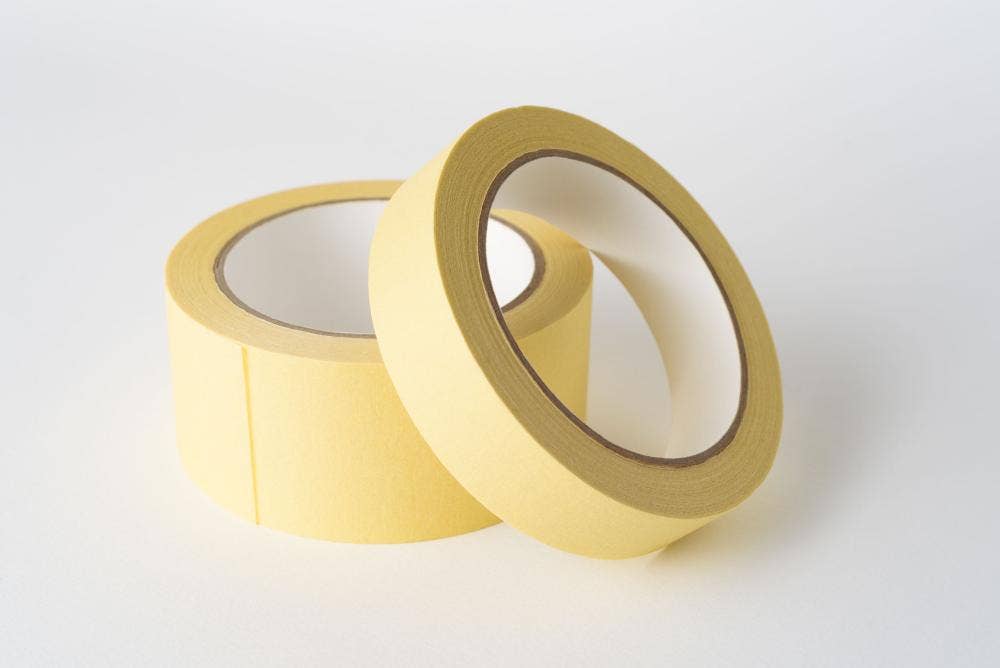
Use it to cover skirting boards, bannisters or anything else you want to avoid sanding. It’s also handy for getting crisp lines if you’re painting. If you're varnishing instead, consider low-tack painter's tape to avoid pulling off any finish when removed.
8) Dust sheets

Even with a vacuum attachment, sanding creates loads of dust. Protect carpets, furniture and nearby surfaces with drop cloths or old sheets. Layer two if working on carpeted landings to avoid any grinding dust embedding into fibres.
9) PPE (Personal Protective Equipment)
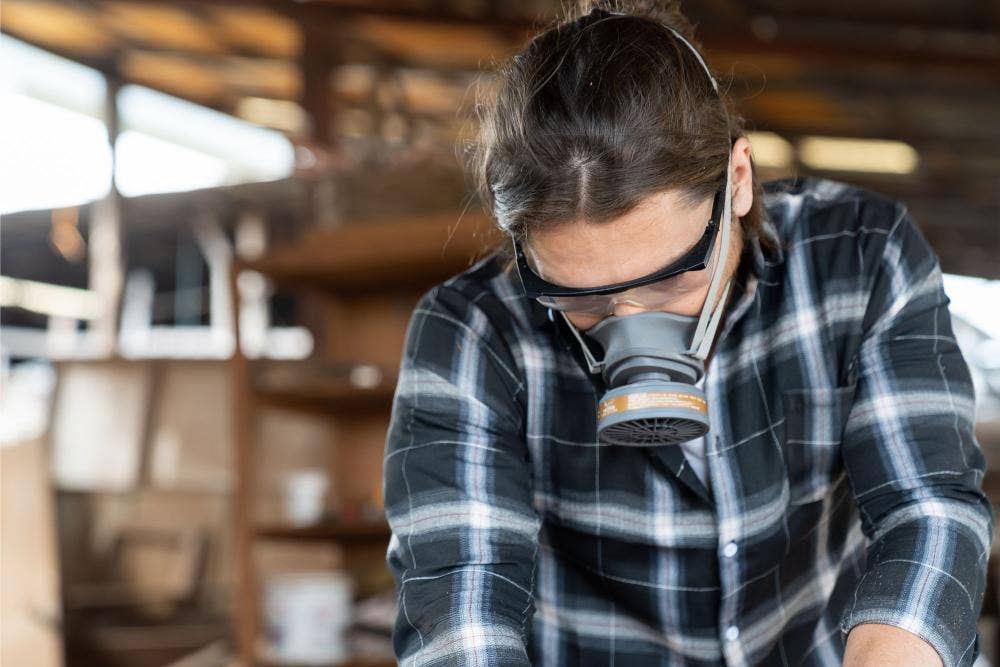
Dust is no joke. Use a mask, goggles and gloves. If you're using powered tools, ear protection is worth considering too. Also, wear long sleeves and avoid loose clothing that might catch on equipment.
10) Cleaning products

You’ll need a broom, vacuum, microfibre cloths and warm water with mild detergent to remove fine dust between stages. Tack cloths can be especially helpful after final sanding.
How to Sand a Staircase: Step-by-Step
1) Remove Old Flooring or Finish
If your stairs are carpeted, start from the top. Use a utility knife or wonder bar to loosen edges, then pull up the carpet carefully. Remove any grippers, staples or nails with pliers.
For painted or varnished stairs, scrape away any peeling or flaking patches to prevent gumming up your sandpaper.
2) Protect Surrounding Areas

Use masking tape and dust sheets to shield skirting boards, floors, walls and nearby furniture. It’s a dusty job – you’ll be glad you did. Consider sealing off open doorways with plastic sheets to keep dust contained.
3) Clean the stairs

Scrape off paint drips or hardened varnish. Then give everything a good vacuum and wipe down. The cleaner the surface, the better your sanding results. Any remaining debris can cause gouges during sanding.
4) Fill Gaps and Cracks
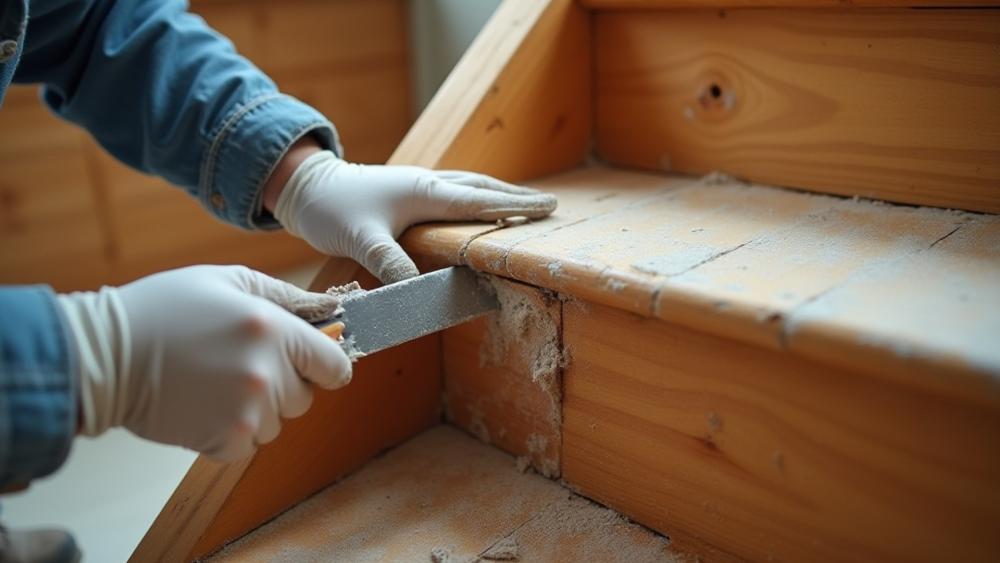
Before sanding, spot any splits or holes. Fill them, smooth off the excess, and allow time for drying. A second round of filler might be needed for deeper holes. Let it cure fully or the filler may clog your sandpaper.
5) Sand the Stairs

Start with coarse grit to strip finishes. Use a floor sander for flat surfaces and a corner or detail sander for edges and risers. Switch to finer grits to polish up the wood. Sand along the grain where possible. Hand-sand spindles and curves with sandpaper strips.
Take breaks to check progress because over-sanding can alter the shape or create dips, especially on older timber.
6) Clean Again

Use a vacuum and a damp cloth to remove every trace of dust. Give it 24 hours to dry before applying any finish, and if you spot uneven patches at this stage, lightly re-sand and wipe down again.
7) Apply Your Finish
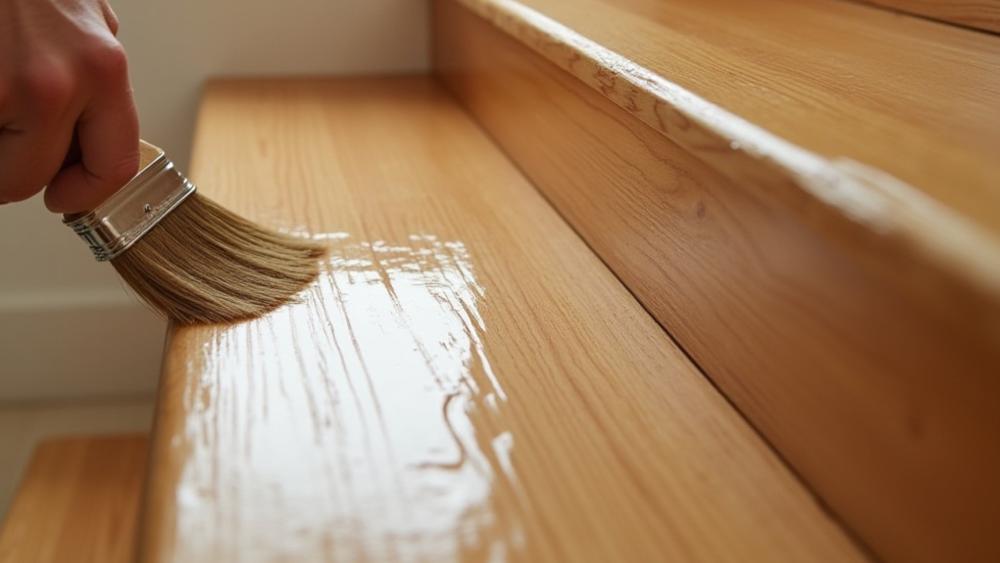
Whether you’re painting, varnishing or staining, apply evenly and let each coat dry fully. Two coats usually provides better durability, especially on stair treads that take more foot traffic and follow product guidelines for drying times.
Tips and Extras
- Manual vs Electric: Electric sanders speed things up but can be tricky on corners. Keep hand tools close for finishing touches.
- Best Grits: 60–80 to remove layers, 120–180 to smooth, 220+ for finishing polish.
- Timing: Allow a full weekend depending on size and condition.
- When to Call a Pro: If your stairs are very old, fragile or ornate, expert help might be safer.
Need the Tools?
Heamar stocks sanders, pads, knives, fillers, and more – plus expert advice if you’re unsure where to begin. From prep to polish, if you want polishing and buffer tools to improve your stairs further, we have a wide range available to support your DIY needs. Take a look and see how we can help your projects.

