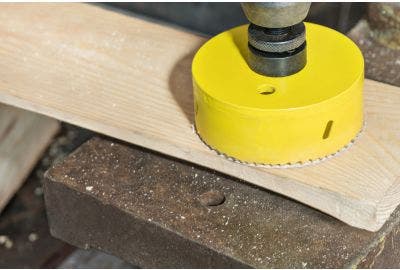
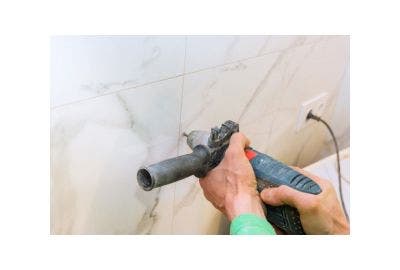
If you’ve ever needed to drill a large, clean hole, maybe for fitting a light fixture, running pipework, or installing ventilation then chances are a standard drill bit won’t cut it, which is where a hole saw comes in.
A hole saw is a circular blade that attaches to your drill and cuts out clean, round holes in wood, metal, plastic or plasterboard. It’s more efficient than using a spade or forstner bit for wide cuts, and it keeps the core of the material intact, which is especially useful when working with finished surfaces.
In this guide, we’ll break down exactly what a hole saw is, what tools and parts you need, and how to use one step by step — safely, accurately, and without burning out your gear.
What Makes Up a Hole Saw Kit?
A hole saw kit isn’t just the blade — it’s a small system of parts that work together. Here's what you’ll typically find:
1. The Hole Saw
This is the circular saw blade itself. It looks like a short cylinder with saw teeth around one edge. The size refers to the diameter of the hole it cuts — typically ranging from 14mm to over 100mm.
You’ll find a few types:
- Bi-metal hole saws: Durable and good for wood and thin metal
- Carbide-tipped: Designed for harder materials like tile or plastic
- Diamond grit saws: Ideal for ceramic, glass, or masonry surfaces
2. The Arbor (also known as a Mandrel)
This is the connecting piece that fits between the hole saw and your drill. It typically includes:
- A central shaft that goes into your drill chuck
- A threaded end that screws into the hole saw
- A collar that locks the two together
Some arbors include a spring to help eject waste (called the “slug”) after drilling.
3. The Pilot Drill Bit
Fitted through the centre of the arbor, this bit drills a small guiding hole before the saw starts cutting. It keeps the hole saw centred and reduces wandering on smooth surfaces.
Make sure the pilot bit extends slightly beyond the teeth of the hole saw before use.
What kind of drill do you need for a hole saw?
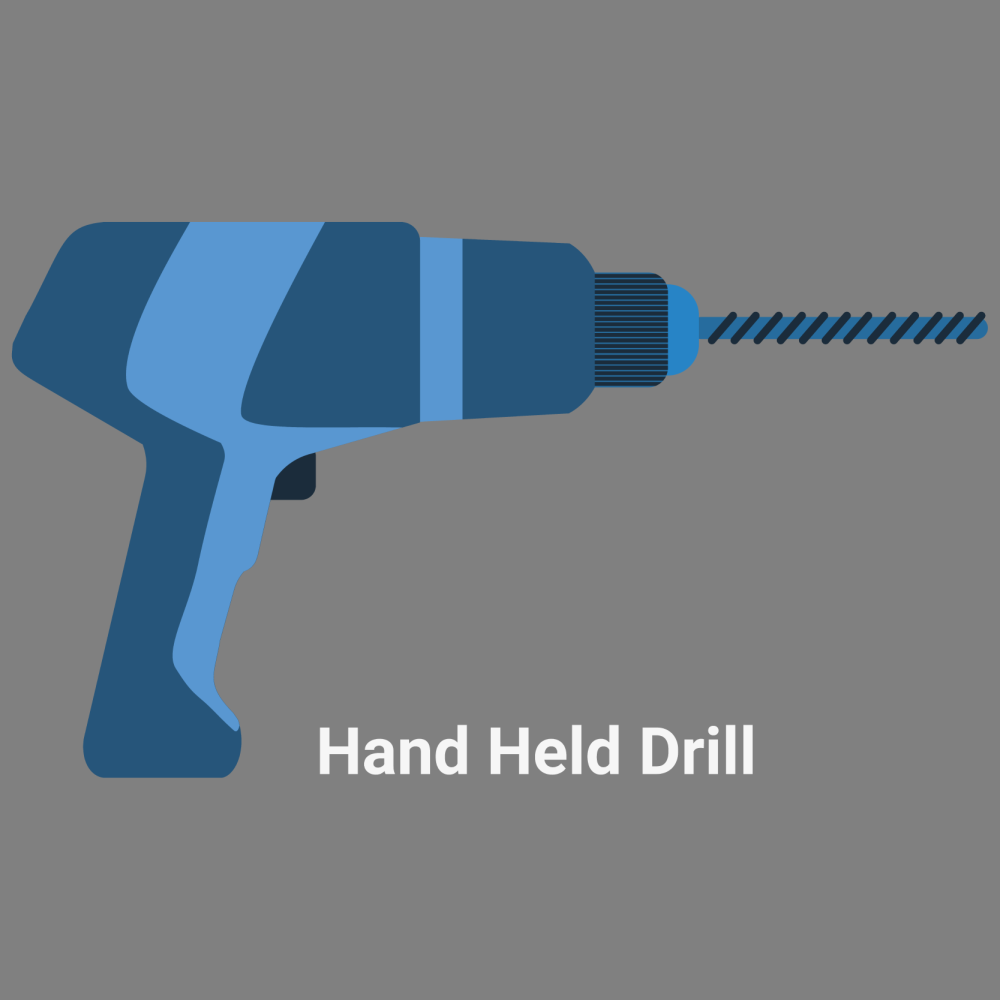
Hole saws can be fitted to most standard drills, but not every drill is right for every material. The bigger the hole or the tougher the surface, the more power and control you’ll need. Here’s what to look for:
Standard Handheld Drill
Perfect for smaller hole saws (up to around 50mm) and softer materials like plasterboard, softwood, or plastic. Cordless drills offer flexibility, but corded versions often provide more consistent power, helpful when drilling multiple holes.
Make sure the drill chuck can accommodate the arbor shaft — most arbors are either 3/8" or 1/2", so check compatibility.
Drill Press or High-Torque Drill
If you're drilling large holes or working with dense materials like hardwood, metal, or tiles, a high-torque drill or a bench-mounted drill press is the safer option. These give you better control and apply steady pressure without risking kickback.
For jobs like cutting holes for pipework in a kitchen cabinet or venting in an exterior wall, a more robust setup pays off in accuracy and tool life.
Key Features to Look For
- Variable speed control – lets you start slow and adjust depending on the material
- Torque limiter – reduces the risk of tool twist or bit jam
- Side handle – adds grip and control, especially when using larger hole saws
Step-by-Step: How to Attach a Hole Saw to Your Drill
Getting your setup right from the start makes all the difference. Here’s how to fit a hole saw securely to your drill.
1. Choose the Right Hole Saw and Arbor

Pick the correct size of hole saw for your task, whether it's for a 25mm pipe, a downlight fitting or a 75mm vent.
Match it with an arbor that fits both the hole saw and your drill chuck. Smaller hole saws (14mm – 30mm) usually use a small-shank arbor; larger ones (32mm and up) need a heavy-duty version.
2. Attach the Arbor to the Hole Saw

Insert the threaded shaft of the arbor through the back of the hole saw.
Tighten it until it's secure. Some models have locking pins or screws and if so, make sure those are also firmly set.
3. Fit the Pilot Bit
Slide the pilot bit into the central hole in the arbor and tighten it using the set screw (if not already pre-fitted).
The bit should protrude 5mm – 10mm beyond the teeth of the saw because this helps guide the cut and keep it centred.
4. Double-Check Everything is Tight
Before you start, give the entire assembly a firm twist with an open-end spanner or by hand (depending on the design) to ensure nothing’s loose.
5. Insert the Arbor into the Drill Chuck
Fit the shank of the arbor into your drill chuck and tighten it securely.
If your drill has a keyed chuck, use the chuck key for maximum grip.
Step-by-Step: How to Use a Hole Saw (Safely and Effectively)
Once your hole saw is attached, here’s how to drill clean, accurate holes with minimal fuss and without burning your tool out halfway through.
1. Mark the Centre
Use a pencil or punch to mark the centre of the hole you want to cut. This will guide your pilot bit and keep your saw from drifting when you begin.
2. Secure the Workpiece
Clamp your material in place if it’s movable. For example, if you’re cutting into timber, tile, or pipework on a bench, keep it stable to prevent spinning or slipping.
3. Drill the Pilot Hole (optional for harder surfaces)
For extra accuracy, especially in metal or tile, pre-drill a pilot hole using a standard drill bit the same size as the pilot in your arbor. This helps prevent wobble when starting the cut.
4. Align and Start Slowly
Line the pilot bit up with your mark. Start your drill at a low speed, let the pilot bit take the lead and ease the teeth of the hole saw into the surface gradually. Don't force it, the idea is that you’re guiding, not punching through.
5. Apply Steady Pressure
As the saw bites into the material, apply consistent, gentle pressure. Let the tool do the work because pressing too hard can cause overheating or a jammed drill.
6. Pull Back Regularly to Clear Dust and Cool the Blade
Every few seconds, withdraw the hole saw slightly while it’s still spinning. This helps clear debris and cool the blade, which is especially important when cutting metal.
7. Finish Cleanly
If you’re cutting timber and worried about splintering on the reverse side, stop before breaking through and complete the cut from the opposite side — if it’s safe and practical to do so.
8. Remove the Plug
Once your hole is cut, switch off the drill and remove the plug of waste material from inside the saw. If your arbor has an ejector spring, this should pop out easily. Otherwise, a screwdriver may help to lever it loose.
Tips for Different Materials

Different materials need different approaches, especially when it comes to speed, pressure and cooling. Here’s how to adapt your technique for the best results.
Wood
- Use standard bi-metal hole saws for most timber.
- Apply painter’s tape over the area before drilling to reduce surface splintering.
- Start slow, keep it level and pause to clear dust, especially in hardwoods.
- If neatness matters, back-cut from the opposite side to prevent breakout.
Metal
- Use a bi-metal or carbide-tipped hole saw designed for metal.
- Always apply cutting oil or lubricant to reduce heat and prolong blade life.
- Drill at a low speed and take regular breaks to let the saw cool.
- Wear gloves because the plug and saw edges will get hot and sharp.
Plastic
- Use a fine-tooth or multi-material hole saw.
- Go slow — too much speed causes melting.
- Avoid too much pressure as plastic can crack under strain.
- Support thin materials with scrap timber underneath to prevent tear-out.
Common Mistakes to Avoid
Even with the right gear, a few simple slip-ups can derail a job. Here’s what to watch out for:
1. Using the Wrong Arbor or Chuck Size
Not all arbors fit all drills. Make sure the shaft matches your drill chuck (typically 3/8” or 1/2”). A poor fit can cause the saw to wobble, or worse, spin free.
2. Forcing the Cut
Hole saws are designed to work with steady pressure, not brute force. Pushing too hard leads to overheating, bent arbors and damaged blades. Let the saw teeth do the work.
3. Not Using Lubrication (on Metal)
Dry-drilling through metal wears blades out fast. Use cutting oil or even a dab of machine oil to help manage friction and heat buildup.
4. Skipping Dust & Debris Clearing
If you don't occasionally lift the hole saw to clear the cut, dust and shavings can clog the teeth or heat up the blade, which increases wear and reduces cut quality.
5. Forgetting to Secure the Workpiece
A loose board or panel can spin dangerously when the hole saw bites. Always clamp your workpiece or have a firm hand on it if clamping isn’t an option.
What’s in a Good Starter Kit?
If you're doing more than the occasional cut, investing in a hole saw set makes life easier. Here’s what to look for when choosing a kit that’s right for your tool box.
1. A Range of Sizes
Look for a kit that covers common diameters, from small cable feed holes (20mm) up to larger cuts for ducting, vents or pipework (68mm, 83mm and above). A good entry-level kit might include saws from around 19mm to 79mm, which covers most basic DIY needs.
2. A Compatible Arbor (or Two)
Some kits come with both small and large arbors, which is helpful if your drill accepts different chuck sizes.
Ensure the arbor is robust, with a replaceable pilot bit and optional ejector spring for easy waste removal.
3. Blade Type That Matches Your Material
If you’re working mostly in wood or plasterboard, a standard bi-metal kit is fine.
For tougher jobs, such as stainless steel, tile or fibre cement, consider investing in a specialist kit with carbide-tipped or diamond-coated saws.
4. Storage Case
A sturdy case keeps your blades, arbors, and pilot bits organised, dry, and safe from damage, especially when you’re moving between jobs or just keeping your kit in the garage.
Keep It Cool, Keep It Clean
Hole saws are tough little tools, but like anything with moving parts, they work best when looked after properly. Here’s how to get more life — and better cuts — from every use.
- Take your time: Slow and steady drilling avoids burning out your saw or marring your material.
- Clear debris as you go: It helps with cooling and keeps your cuts neat.
- Clean after use: Wipe blades down and remove leftover material to prevent rust.
- Store dry: A sealed case keeps moisture out and parts organised.
- Use lubricant when needed: Especially when working with metals — it reduces heat and wear.
Whether you’re cutting cable access holes, plumbing feed-throughs or ceiling spots for downlights, having the right hole saw and knowing how to use it properly makes every job quicker, safer and a lot less frustrating.


