At first glance, they seem pretty similar – both blow hot air, both plug into the wall and both get the job done when you need a bit of heat. So it’s no surprise that plenty of people ask whether a hair dryer can do the same job as a heat gun, especially when it comes to shrink wrapping.
The short answer? Sometimes. But the long answer depends on what you’re trying to shrink, how clean you want the result and whether you’re doing this once or planning to do it often.
Let’s break down the key differences and walk through what each tool can realistically handle – and how to actually shrink wrap something properly.
Heat Guns vs Hair Dryers: What’s the Actual Difference?

They both blow hot air – but that’s about where the similarities end. In terms of performance, control and results, a heat gun and a hairdryer live in very different toolkits.
Temperature Range
- Hair Dryer: Typically tops out around 130–140°C. That’s fine for drying hair or softening glue but not enough for heavy-duty shrink wrap.
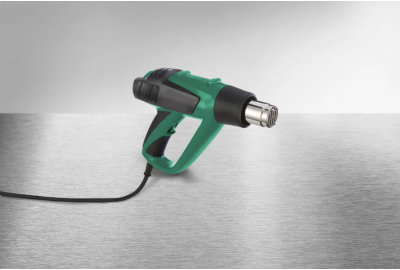
- Heat Gun: Starts around 100°C and can go up to 600–700°C depending on the model. That range gives you far more flexibility for materials like heat shrink tubing, wrap films or adhesive-laminated plastics.
Airflow Control
Hair dryers are designed to push warm air across a broad surface – great for covering a full head of hair, less ideal when you need focused heat on a small area. The wide stream of air makes it hard to control temperature build-up in one spot.
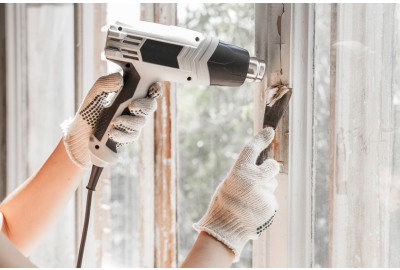
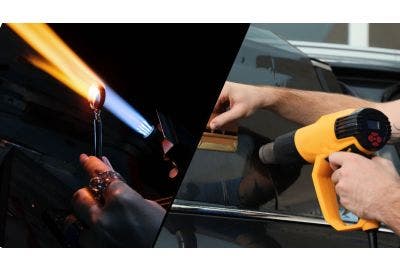
Heat guns, on the other hand, produce a narrow, concentrated flow of hot air. This makes them far better for precision work, whether you’re tightening shrink wrap around a car panel or sealing packaging corners.
Durability and Safety
Hair dryers aren’t built for long, sustained use at high temperatures. Try using one for a task like car wrapping and you’ll likely overheat the motor or melt the casing, not to mention risk uneven heating or burnt plastic.
Heat guns are purpose-built for long sessions and tough materials. Many models include built-in thermal protection, multiple temperature settings and ergonomic designs that allow safe one-handed use.
How Shrink Wrapping Works (And Why Heat Matters)
Shrink wrapping isn’t just about blasting plastic with hot air. It’s a controlled process that relies on specific materials and consistent temperatures to get a smooth, sealed finish.
What Is Shrink Wrap?
Shrink wrap is a type of plastic film that contracts tightly when exposed to heat. It comes in different forms – from industrial-grade wrap for large items like boats or pallets, to more flexible tubing used in electrical work.
Common shrink wrap materials include:
- Polyolefin: Strong, clear and safe for food use
- PVC: Cheaper, but tends to get brittle and can release fumes
- PE (polyethylene): Often used for larger, heavier-duty wraps
Each of these reacts differently to heat – but all rely on hitting the right temperature quickly and evenly to shrink properly without tearing or warping.
Why Temperature and Airflow Control Matter
The key to good shrink wrapping is not just heat – it’s the right amount of heat applied in the right way.
- Too little heat: the wrap stays loose or crinkles unevenly
- Too much heatT: it melts, burns, or tears
- Unfocused airflow: corners might wrap before the centre, or parts get missed altogether
This is why a heat gun’s concentrated airflow and adjustable temperature are so useful – you can control how much heat goes where and for how long.
Can a Hair Dryer Shrink Wrap Anything?
In a pinch, yes – but with serious limitations. A hair dryer can produce just enough heat to affect thinner plastic films, but it’s more of a workaround than a proper solution.
When a Hair Dryer Might Work
If you’re tackling a light-duty job and don’t mind imperfect results, a hair dryer could be enough for things like:
- Removing stickers or old adhesive labels
- Softening candle wax or small globs of glue
- Gently shrinking very thin plastic sleeves, like those used on cable ends or product packaging
Just set it to the hottest setting and hold it close to the surface – but be prepared to wait a while.
Where It Falls Short
For anything beyond those light uses, the limitations become pretty clear:
- Low max temperature: Most shrink wrap film requires at least 150–160°C to activate fully – which most hair dryers can’t reach.
- Poor heat focus: The wide stream of air means the wrap heats unevenly and shrinks unpredictably.
- Tool durability: Hair dryers aren’t made to run continuously at max heat. Extended use risks overheating, burning out the motor, or melting plastic components.
Bottom line: for a neat, professional, or time-sensitive shrink wrap job, a hair dryer just won’t cut it.
A Step-by-Step Guide to Shrink Wrapping Properly
Whether you’re wrapping wires, packaging a product, or applying vinyl to a surface, the basics of shrink wrapping stay the same. Here’s how to do it right.
What You’ll Need:
- Shrink wrap film or tubing
- A heat gun with adjustable temperature settings
- A cutting tool (scissors, safety knife, or blade)
- Heat-resistant gloves (optional, but recommended)
- Clean workspace with good ventilation
Step 1: Cut Your Shrink Wrap to Size
Wrap the film loosely around the item or slide it over, depending on the shape. If you're using tubing, cut it slightly longer than the item to allow for contraction.
Step 2: Position It Evenly
Ensure the wrap is straight and centred. For product packaging, fold the edges neatly. If wrapping cables or wires, make sure no strands poke out.
Step 3: Set the Heat Gun
Start with a medium temperature – around 150–200°C for general-purpose films. For heavier-duty wrap, you may need 300–350°C. Don’t start too hot or too close – let the film react gradually.
Step 4: Apply Heat Smoothly
Hold the heat gun a few inches away and move it slowly in circular motions. Don’t stay in one spot too long – that can burn or bubble the plastic. As the wrap starts to shrink, continue moving to avoid uneven tension.
Step 5: Seal the Edges (If Needed)
If you’re creating sealed packaging, use the heat to fold and fuse the edges. In some cases, you might need a separate heat sealer or adhesive tape.
Step 6: Let It Cool
Once the wrap is tight and smooth, let it sit for a moment. Don’t press or move it while it’s still warm – this can cause wrinkles or loosen the fit.
Which Heat Gun Should You Use?
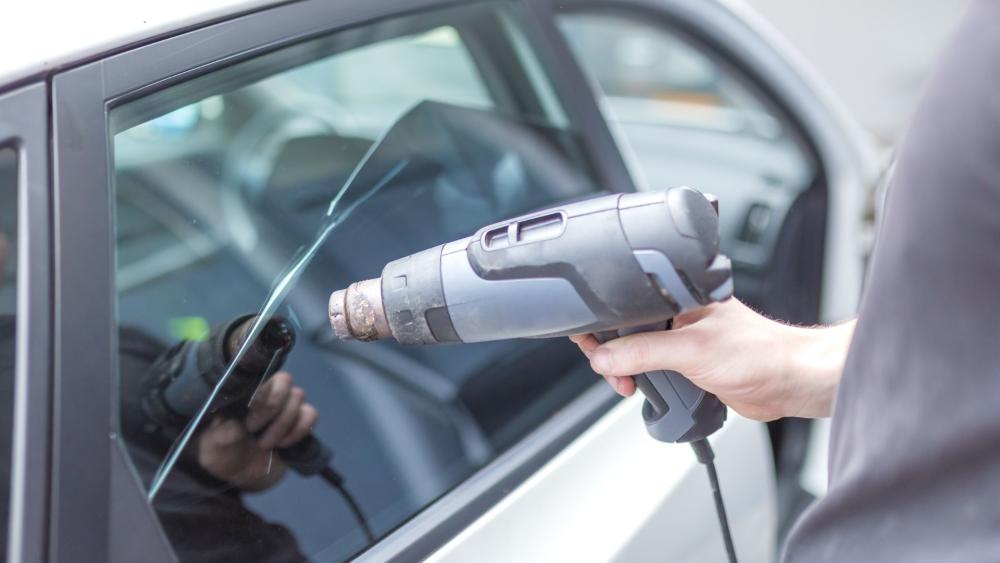
Not all heat guns are built the same and for shrink wrapping, having the right features can make a noticeable difference in speed, finish and control.
For General Use and Car Wrapping: Steinel Pro HM 2320 E
This model is a go-to for both hobbyists and professionals. It’s:
- Digitally controlled, so you can dial in precise heat (80°C to 650°C)
- Fitted with a 3 metre cable – ideal for working around vehicles or large objects
- Lightweight and ergonomic, making longer jobs easier on your wrist
Need Something Inline or Higher-Spec? Try the Leister Triac ST
If you prefer a heat gun with a straight-barrel (inline) shape, or you need more power, the Leister Triac ST is the step up:
- 1600W output
- 40°C to 700°C adjustable temperature
- Actively cooled protective tube
Perfect for heavy use, precision tasks, or industrial wrap jobs.
Both models are built for shrink wrapping and more – so if you’re investing in one, it’ll pay off across plenty of tasks.
Which Tool Is Best for Shrink Wrapping?
If you’re aiming for speed, control and a clean finish, the winner’s clear: a heat gun is built for the job. Hair dryers might handle the odd low-heat task, but when it comes to proper shrink wrapping – whether you're sealing wires, packaging goods, or wrapping vehicles – they simply don’t cut it.
Need something reliable and built to last? Heamar offers a full range of heat guns and shrink wrap tools suitable for everything from hobby use to professional wrapping work.


