A tiled wall can look aesthetically pleasing and is ideal for bathrooms and kitchens. But at some point, you will need to fit accessories and hardware, such as towel rails or cabinets and shelves, which will require drilling. It might raise the question, ‘How do you drill holes into tiles without damaging them?’
Read our guide below to find out!
How To Successfully Drill Into Tiles Without Cracking Them

First, you must ensure you have the correct tools for the job. You can order most of the tools needed to drill holes into tiles from Heamar.
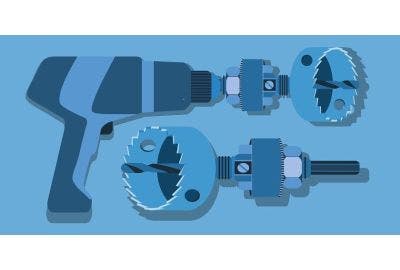
It's harder to drill into tiles than wood and other soft materials, as you will need a power drill with a carbide-tipped or diamond-tipped drill bit.
Before drilling, ensure that your drill bit hasn't worn out since it may damage the tiles.
See the complete list of tools needed below.
Tools Needed
- Power Drill
- Tape Measure
- Safety Goggles
- Mask
- Spirit Level
- Stud Detector
- Specialist Drill Bit
- Multi-Material Drill Bit
- Drill Guide
- Masking Tape
- Pen
- Wet Cloth
Instructions for drilling into tiles
1) Check tile material

Whether freshly laid or old, you should understand the material your tiles are before drilling into them. Some will require more exertion than others.
Furthermore, you will need specialist drill bits for each tile type according to what they're made of.
The common materials used for tiles are as follows:
- Glazed ceramic - Fairly easy to drill into and found in many older homes.
- Glass - Tougher drilling into, compared to ceramic.
- Stone - Again, one of the challenging materials to drill into.
- Porcelain - Arguably the toughest tile material to drill into.
For ceramic tiles, you will need a carbide bit; however, for glass, stone and porcelain tiles, you will need a diamond-tipped bit.
2) Mark points to drill

This is the moment when masking tape is needed.
Masking tape is essential when drilling into tiles because it helps prevent the drill from skidding on the tile by keeping the drill bit steady.
Alternatively, you can use a drill guide if this is the first time you have used a drill. This device helps to increase accuracy.
Furthermore, when marking hole locations (points), you’ll know where to drill, as it is easier to do it on tape than on tiles.
You can use a spirit level to ensure your points and drill holes meet. Nobody wants a wonky towel rail!
It would be best to position your holes in the centre of your tiles rather than the edges, where they are much more likely to crack.
Check where you wish to mount your accessories or hardware for pipes and wires. You can do this by using a stud detector.
3) Drill the hole

Now, time to drill!
Start slowly and on a low setting, which will help to prevent your drill from overheating and reduce vibrations, decreasing the likelihood of your tiles cracking.
You should fully support your drill, holding it with both hands. Apply pressure evenly and press lightly on the trigger.
Once you have formed the beginnings of a hole, you can increase the drill speed (but do not increase it to full speed!).
Remember, most tiles can withstand domestic and commercial use. The trick is to work slowly and patiently.
Aim to keep your drill bit cool. Do this by occasionally dabbing the bit with a cold, wet sponge.
4) Use a multi-material drill bit

Eventually, you will feel the drill bit go through the tile (there will be a change of resistance). At this point, you need to change to a multi-material drill bit.
You should not use a multi-material drill bit to drill into tiles; only use it when you have hit the wall surface, whether it be brick, tile backer board or something else.
Once you have changed the drill bit, continue drilling into the material behind the tile. It will enable you to fully insert the wall plug (into the tile and wall surface), helping your accessories and hardware to sit flush and be doubly secure.
5) Clean up
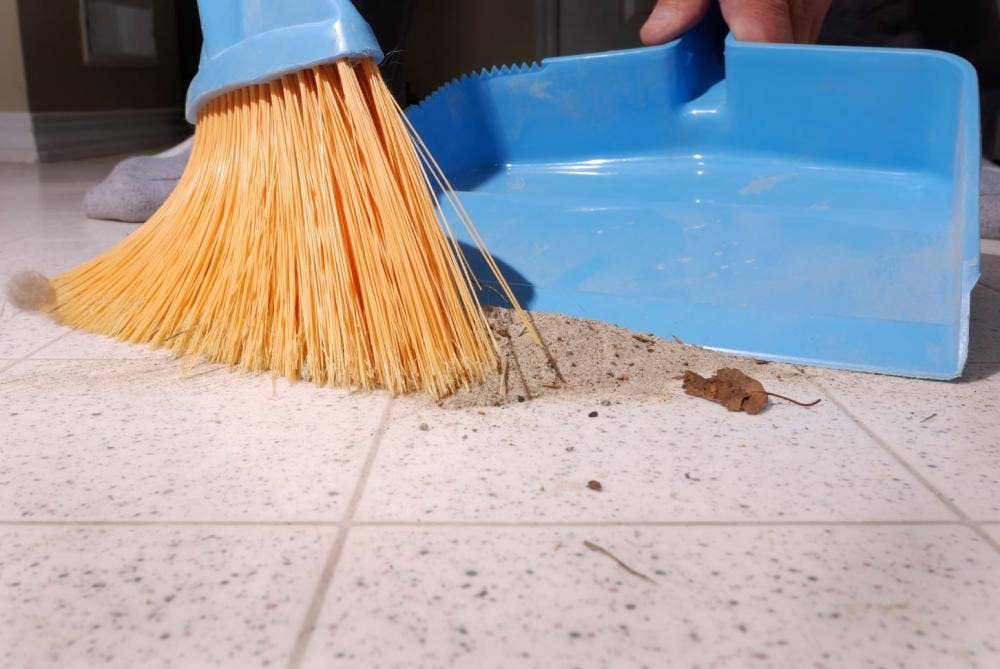
Now, time to clean up!
Your tile surface must be dust free before you can begin attaching your accessories or hardware.
Remove masking tape if you have used any, and wipe away grime and dust with a wet cloth.
Now you know how to safely and easily drill into tiles without damaging them!
If you require any tools for your next DIY task, Heamar sells a range of common hand tools, ideal for a beginner or avid DIYer.